How To Switch Between Node Versions on Windows
Manage multiple versions of node on windows using nvm


Introduction
we build projects based on a specific version of tools, dependencies, and packages. And quite often, these tools and packages get updated. What happens when you need to work on a project that requires a previous version of Node? Do you have to uninstall the current version and install the version you need? what happens after you finish working on the project?
In this post, I will share how you can switch between multiple versions of Node and manage your projects easily using Node Version Manager(NVM) on windows.
As developers, we work on many projects that run on different versions of packages. I recently had a similar challenge where my system is running Node v 16.14.2 which is the latest version at the time, and the project I want to work on required Node v 16.8.0. Hence, the motivation for writing this article.
Node Version Manager (NVM)
Node Version Manager (NVM) is a tool that allows developers to easily switch between multiple node versions without having to manually uninstall and install a new version anytime the need arises. Just as the name implies, nvm manages our Node version.
Installing NVM on Windows
Now before you install NVM, be sure to uninstall any existing installation of Node from your system to avoid complications during installation. Head over to Github and download nvm-setup.zip from the list of available options and follow through a regular installation process, nothing new.
TL;DR
Further information on installing NVM on windows can be found here.
After successfully installing NVM, open up your terminal and enter the following command
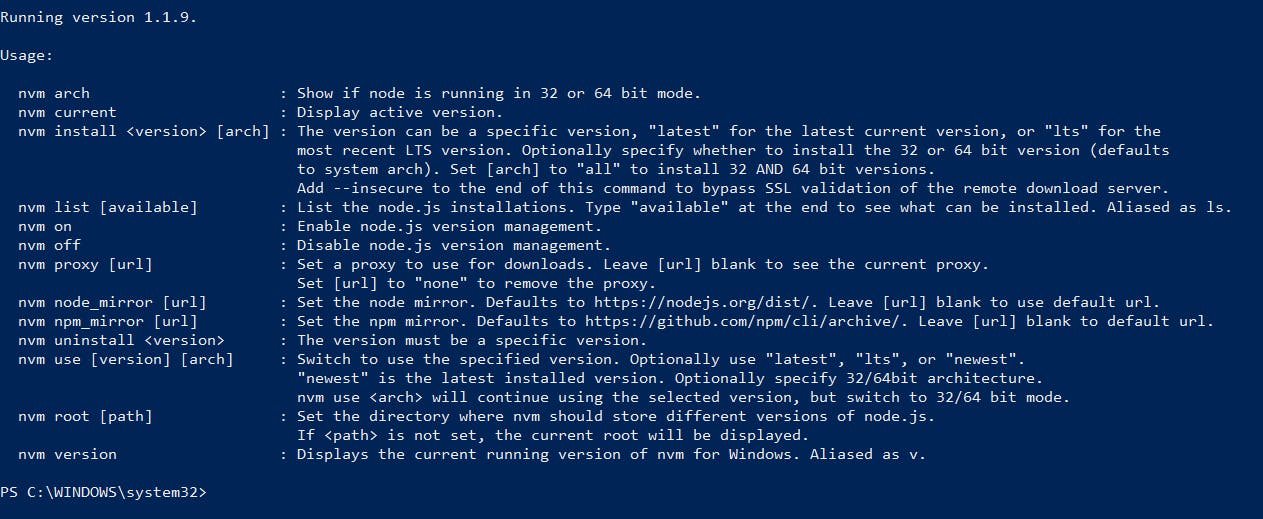
nvm help
If the installation was successful, you should get a response like the image below.
Installing Node.js using NVM on Windows
The next step after installing NVM is to install Node. NVM makes it very easy to install multiple versions of Node with a single command. Before we proceed, it is important to note that NVM requires a level of permission to make changes to your system. Open up PowerShell as an administrator and enter the following command to install Node.
nvm install lts
The above command installs the current and most recent LTS version of Node. Optionally, you can install "latest" for the latest version available. To install an older version of Node, specify the version number with the command nvm install <version-number>
nvm install 8.17.0
Let's install an even older version, so we can see clearly how easy it is to switch and manage these different node versions.
nvm install 6.5.0
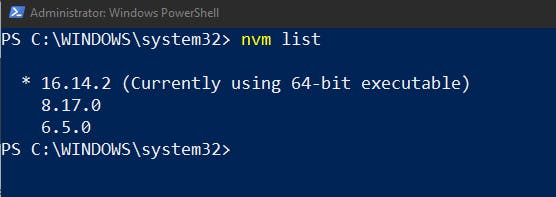
If everything works correctly, you should have three (3) versions of Node installed onto your system. Let's confirm this by entering the next command in the terminal.
nvm list
 The
The nvm list command displays a list of all installed node versions and specifies the currently active version.
Switching Between Node.js Versions
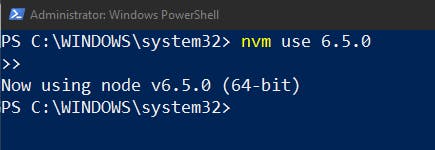
By default, your system should be running the first version of Node you installed. In my case, it would be Node v16.14.2 which is the LTS version at the time. To use any of the available versions, enter the next command nvm use <version>.
nvm use 6.5.0
You should get the following response.
 Alternatively, you can enter the following command
 nvm current to see the currently active version.

It is also important to note that each Node version you install automatically comes with a node package manager(npm) that is compatible with the Node version.
Uninstalling a Node.js Version
To uninstall a Node version, enter the command nvm uninstall <version>.
nvm uninstall 6.5.0
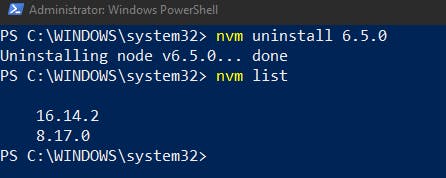
That's as easy as it gets when using NVM. There are more options you can explore when you run the nvm help command. But I don't want to bore you with that information.
Conclusion
NVM makes switching between Node versions a seamless experience. Hope you are able to set up and use NVM to manage Different Node versions on your system. If you found this post useful, you can live a like and share. Connect with me on Twitter for more content like this. That would be all for now, see you in the next one.