Creating a Django Custom User Model

Software developer & Technical writer, Open Source enthusiast. On my blog, I write about Open Source and Things I'm learning everyday
Introduction
Django ships with a built-in User authentication model right out of the box which is so cool, but however, this User model is not always sufficient for some type of projects, for example, we might want to build a project that requires more fields than the fields available in the default User model or might want to use email and password to authenticate users instead of username which is the default for the Django User model. We can override the default User model by creating a custom user model as will be outlined in this article.
Let's Begin
Start a new project in Django called mysite and create a new app called account, then jump into the settings.py file in the project root directory and add ‘account’ to the INSTALLED_APPS. Open the models.py file in the account app, and let’s create our user model.
Firstly, let’s import two required classes from Django to enable us to extend and customize the user model.
- AbstractBaseUser
- BaseUserManager
The AbstractBaseUser provides the core implementation of a user model, including hashed passwords and tokenized password resets. You must then provide some key implementation details BaseUserManager – this provides two additional methods that we can use to customize the user model.
from django.db import models
from django.contrib.auth.models import AbstractBaseUser, BaseUserManager
After the above two imports, create a model. I will call mine, Account which will inherit from the AbstractBaseUser class and specify the default Django user fields plus any other additional fields. Note that the default fields are required to create a custom user model.
class Account(AbstractBaseUser):
    email = models.EmailField(verbose_name="email", max_length=60, unique=True)
    username = models.CharField(max_length=30, unique=True)
    date_joined = models.DateTimeField(verbose_name='date joined', auto_now_add=True)
    last_login = models.DateTimeField(verbose_name='last login', auto_now=True)
    is_admin = models.BooleanField(default=False)
    is_active = models.BooleanField(default=True)
    is_staff = models.BooleanField(default=False)
    is_superuser = models.BooleanField(default=False)
Next, still within the scope of the Account class, we set the USERNAME_FIELD and REQUIRED_FIELDS to the credentials we want users to login with and other required fields respectively, I will set the USERNAME_FIELD to email and the REQUIRED_FIELDS to username Note: The REQUIRED_FIELDS must be an iterable
USERNAME_FIELD = 'email'
REQUIRED_FIELDS = ['username',]
Next stop, let’s create a user manager class which will inherit from the BaseUserManager. This class should be located at the top of the Account class so we can reference it in the Account model.
# AccountUserManager
class MyAccountManager(BaseUserManager):

    def create_user(self, email, username, password=None):
        if not email:
            raise ValueError('Users must have a valid email')
        if not username:
            raise ValueError('Users must have a username')
        user = self.model(
            email = self.normalize_email(email),
            username = username,
        )
        user.set_password(password)
        user.save(using=self._db)
        return user

    def create_superuser(self, email, username, password):
        user = self.create_user(
            email = self.normalize_email(email),
            username = username,
            password = password,
        )
        user.is_admin = True
        user.is_superuser = True
        user.is_staff = True
        user.save(using=self._db)
        return user
Next let’s make the Account model aware of the MyAccountManager() by setting objects = MyAccountManager() in the Account model class.
Next stop, let’s jump into the settings.py file in the root directory of our project and set a property. AUTH_USER_MODEL = ‘account.Account’ This property overrides the default User model and uses our custom user model instead. It basically tells Django where our custom user model is located. The value makes reference to the app.model which is the account app and Account model we created respectively.
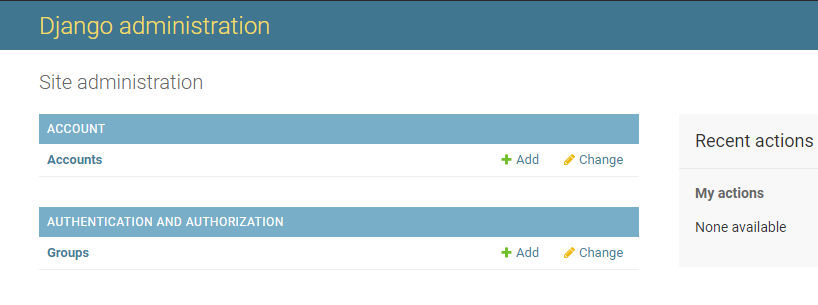
The final step is to register the Account model in the admin.py file located inside the account app so as to get it showing on the admin dashboard Then we make migrations to persist our custom user model to the database. Now let’s test the model by creating a superuser by running python manage.py createsuperuser
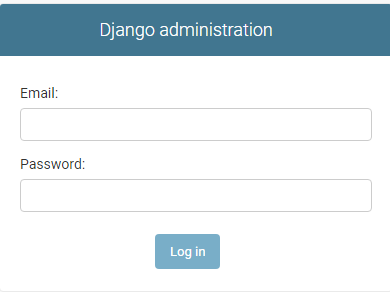
The login credentials to the admin dashboard are now email and password instead of the default username and password.
Thanks for reading and hope you find it useful. Well, see you in the next one.


